
Build a Dobsonian Mount
In this section we will show you how to build a Dobsonian Mount for a small (12 inches or less primary mirror) Newtonian optical tube. You can use this mount with an existing Newtonian, or perhaps you have just built the Newtonian OTA we described in the previous section.
At the 2010 Stellafane Convention, our adjustable cradle design won an Innovative Component Award in the Mechanical Competition.
While or plans will be as specific as possible, by necessity they must be scaled to your tube diameter and length. We will therefore provide many dimensions as formulas with the specific of your tube as variables; you will have to do some simple adding or multiplying to determine your dimensions. Do not try to build this mount without a completed and functional Newtonian telescope in hand; critical dimensions such as the tube length below the balance point of the tube are almost impossible to calculate without the actual tube and accessories, such as eyepieces and finder scopes, in place on the tube.
While houses my be built built from the ground up, we will build from the tube down. The diameter and length of the tube determine many dimensions, so calculating clearances from the tube outwards to the rest of the mount is the best strategy. Whenever possible, we will strive to use much easier to make straight cuts, and only use curved parts when absolutely necessary.
Our main material for the mount is plywood (see Selecting Plywood for your Dobsonian). We will also use standard hardware, such as screws nuts and bolts, and you should consider using Rustproof Hardware for exposed items (screws, which will painted or sealed with the plywood after assembly is not nearly as critical to be rustproof). We will also use a few more specialized items for bearings (Teflon pads and textured laminate) and will provide details on where to buy these items at the appropriate time.
Also be aware of our Sawing, Shaping, Drilling & Sanding page, which gives general advice on working with the materials we are using. You might want to review all the items in our Reference Section so you know what information is available there.
Finishing the Mount
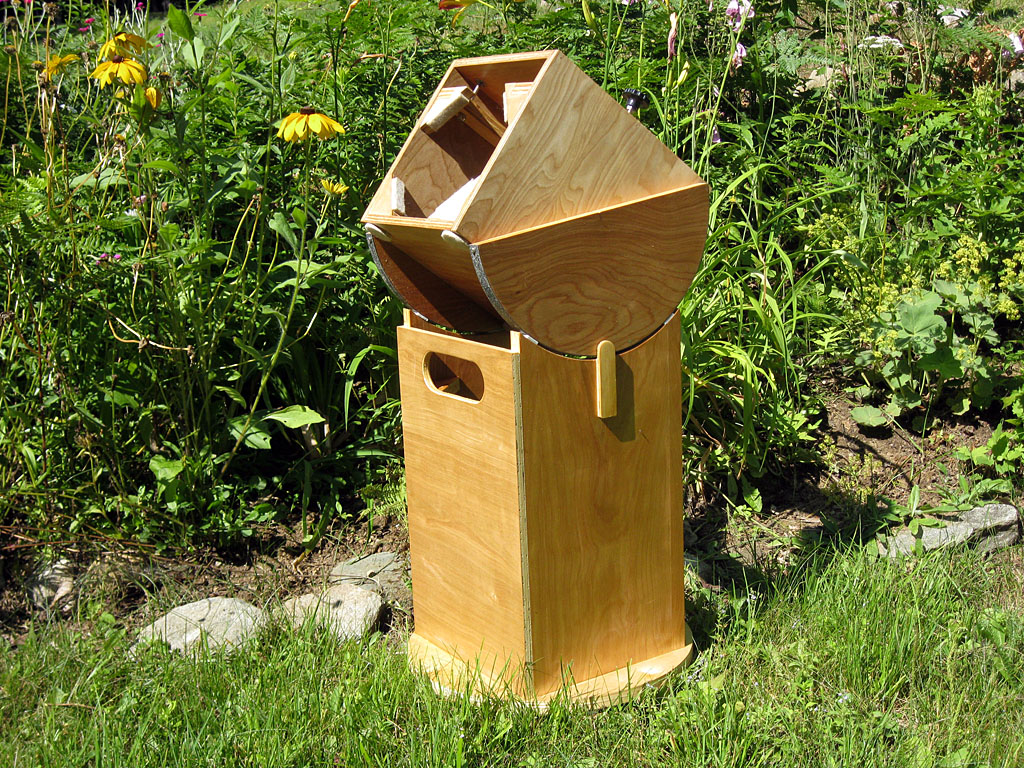
Your plywood mount be out in the weather; dew, fog and mist is a fact of life in most observing locations. Your mount will deteriorate unless your seal it with paint or some other sealer. Like the tube, the choice of finish is up to you and your taste. All surfaces should be sealed except those that will have laminate glued to them - the glue will stick better to bare wood.
We will use plywood with a nice surface, and will finish our mount with a clear satin polyurethane (left over from refinishing some floors). This will provide a tough, waterproof seal and let the natural grain of the plywood show through.
We will not go into any further detail on finishing the mount as each part is completed; we will just tell you it is time to apply the finish, usually when that component of the mount is complete, or just before some unfinished parts (such as Teflon pads) need to be mounted.
Let's get building...
Next: The
Cradle
Back to the Build a
Dobsonian Master Index