Painting the Tube
Perhaps this should have been called 'Finishing the Tube'; while paint is pretty much standard for the inside, a variety of options are possible for the outside. In any case, your cardboard tube will not last as long unless moisture is sealed out, so moisture proofing your tube is important.
Painting the Inside of the Tube Flat Black
It is important to make the inside of your tube as non-reflective as possible, so that stray light will not degrade the images in your eyepiece. The easiest way to do this is to paint the inside of the tube flat black. Doing this will also seal the painted surfaces against moisture.
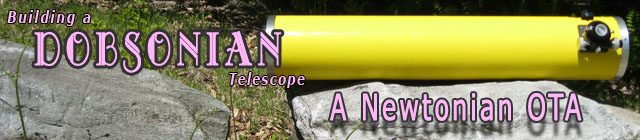
The easiest way to paint the inside of the tube is to attach a paintbrush to a stick, and paint halfway down the tube from each end. We used a rectangular scrap of wood and a strong spring clamp to hold a 2 inch sponge brush perpendicular to the stick.
Long tubes will have to been done in the horizontal position, but if the tube is shorter than you are, painting it in the vertical position seems easier to us.
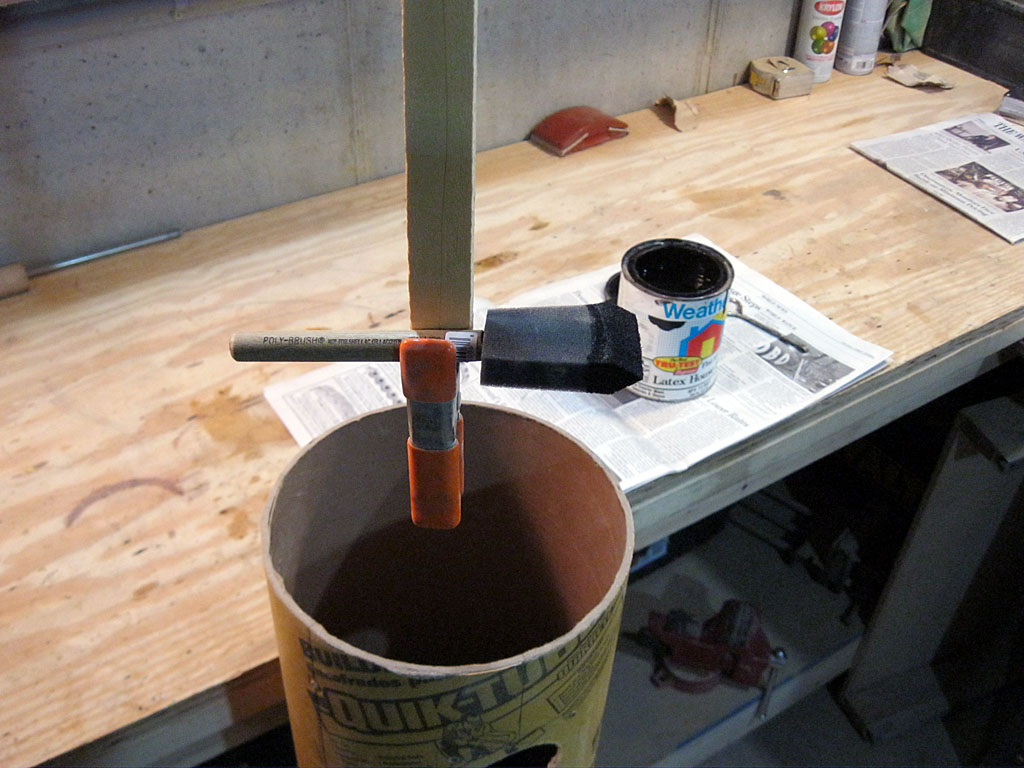
Paint the tube edge a little bit around the focuser hole - you don't have to be too neat, the focuser will cover this part up. Do not paint the ends of the tube black, they will look better if they are painted the tube outside color.
We used a flat latex house paint for this job. As you can see in the second picture, the cardboard is absorbing the first coat, and a second coat will be need to fully blacken then inside of the tube. Also, most tube have spiral groves on the inside, make sure you get those painted well, it will take a little extra work but it will be worth it.
Finishing the Outside of the Tube
Typically, you want the outside of the tube to have a lighter finish - it will reflect heat better if the scope is outside during the day and it will be easier to see your scope at night (at not trip over it!). While most people paint their tubes, you can certainly get very creative if you wish. A 'mural' on the tube is one possibility; a fabric covering, Monokote (plastic, adhesive "shrink wrap" used extensively for model airplanes), or a plastic veneer are others (but hardly an exhaustive list). If you would like some ideas, you could browse the telescope photos on our Stellafane Convention pages, Homemade Telescope Gallery, or the Telescope Makers and Their Instruments section of our Links Page.
Outside of the Tube
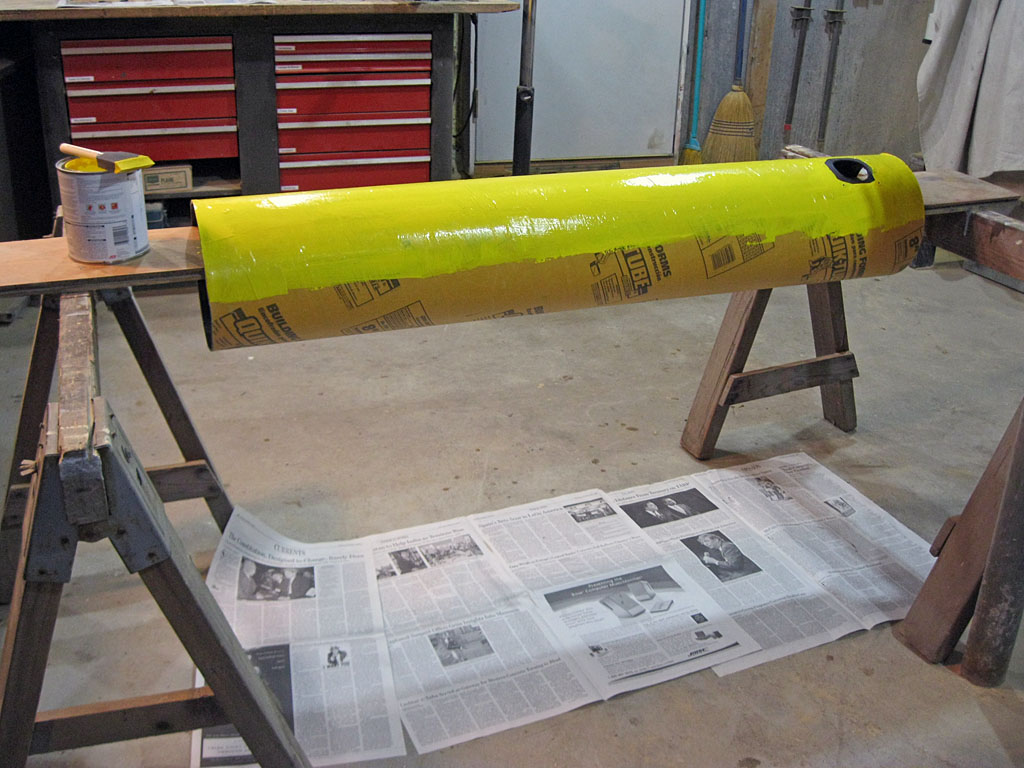
We will take the simple route and paint our tube. The yellow cardboard of the concrete tube grew on us during this project, so we decided to paint the tube bright yellow. We are using a latex house paint (ACE Hardware Royal Interior/Exterior 100% acrylic latex enamel semi-gloss "Yellow Blast F27")
The easiest way to paint the outside of the tube is use a board horizontally through the tube, and support it on saw horses, chairs or some other solid support at a good height (See photo). We also painted the ends of the tube the outside color.
If you are painting your tube a light color, you probably should consider using a very good primer to cover the dark printing on the tube. We didn't, and after two coats the printing was still showing through. It took six coats to completely cover it up.
Previous: Cutting the Tube to Length
Next: Final Assembly
Back to the Build a Dobsonian Master Index