

Installing a Focuser on the Tube
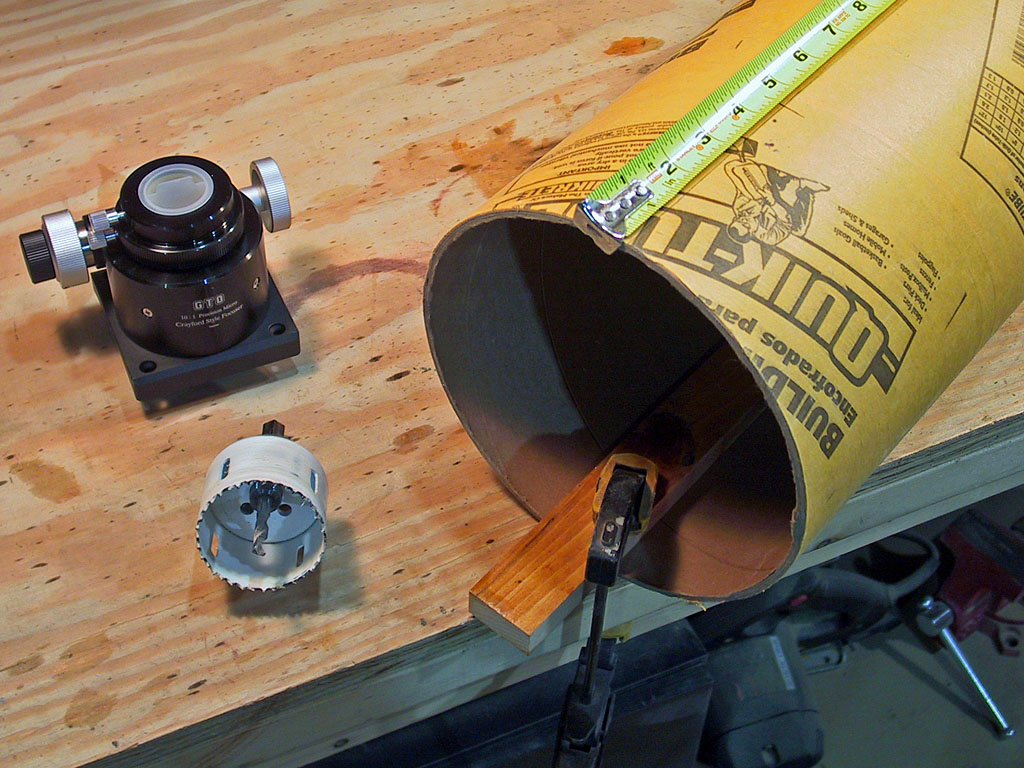
The Focuser is the first item we install on or in the tube. Make sure you have suitable nuts, washers and bolts to fit your focuser (you will want to have washers between the tube and the nut). Our focuser uses #8 diameter flat head bolts to mount, so we bought 1 inch 8-32 stainless steel bolts, washers and locking nuts for this purpose.
Working on tube is difficult - they want to roll around on you. So figure out how to secure them for work. We used a scrap of wood and a clamp to hold the tube steady, as shown in the photo. You could also use to board on either side of the tube to prevent if from rolling, if you don't have a place to clamp it.
Using a roll-up ruler, we carefully drew a line along the tube from one end to the other. This will let us line up components that we mount. Then, using the dimension we calculated in NEWT during the design phase, we mark the location of the the center of the focuser from the front of the tube (in our case, this is 4½ inches).
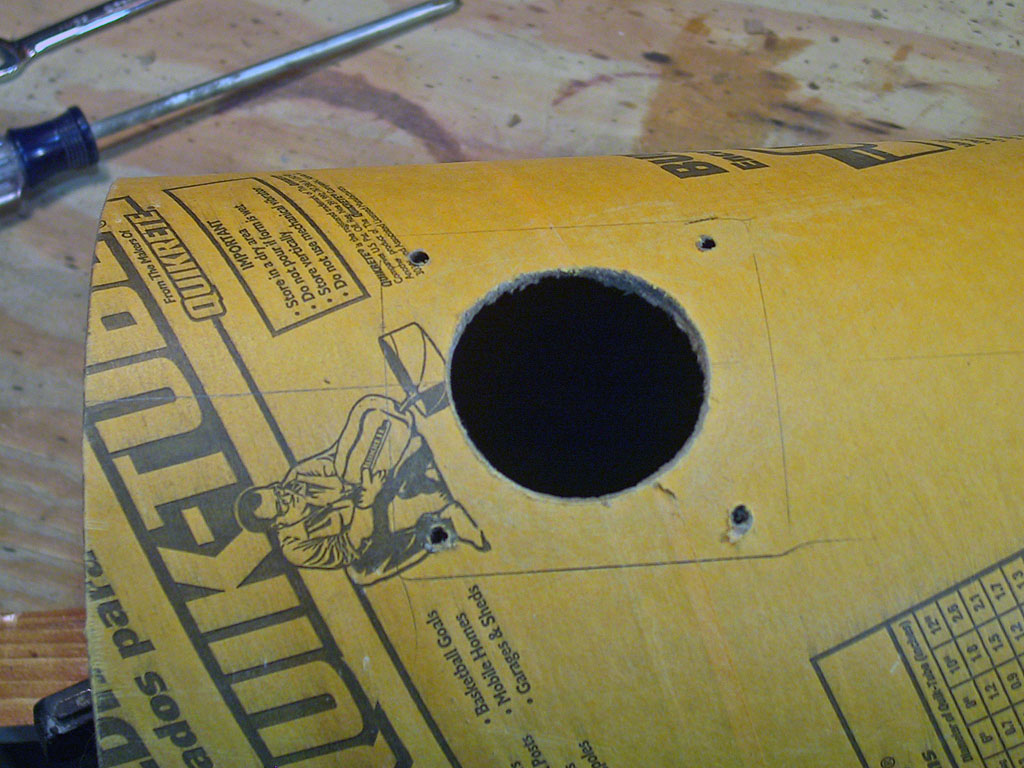
First we need to drill the large hole for the the focuser tube and light cone. Measure the outside diameter of your focuser tube, and select a hole size that is slightly larger. In our case, our focuser tube was 2¼ inches, and we selected the 2-3/8 inch hole saw we have used a few times before on this project to make the hole. Since we are drilling cardboard, and we wanted to cut the hole carefully, we drilled a ¼ inch pilot hole with our electric drill, then just rotated the hole saw by hand without using any drill to make the large hole. This has the advantage of being able to control tear-out on the inside of the tube more carefully. We still had a little tear-out, but some carpenters glue quickly secured the little bit we had. Clean up the 'fuzzies' with sandpaper and a razor blade.
Now, test fit the focuser. Make sure your focuser tube does not bind in the hole. Carefully center and align the focuser in the hole and one the tube, then draw a pencil line around the base so you know where it should go. Mark and drill out the mounting hole locations.
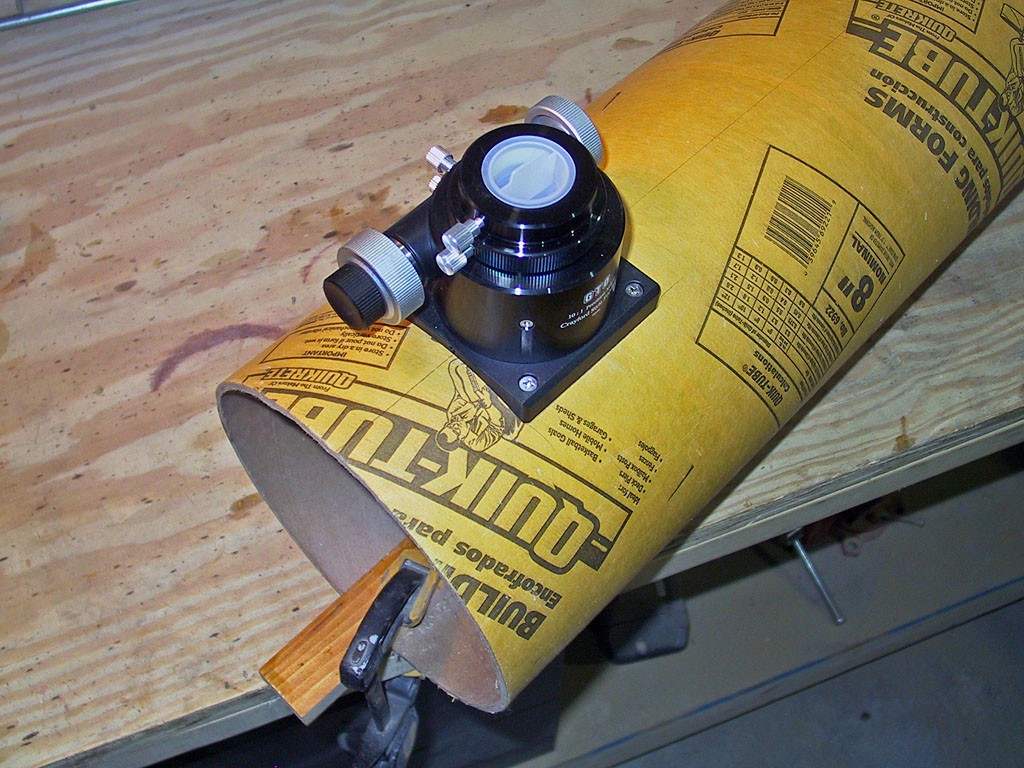
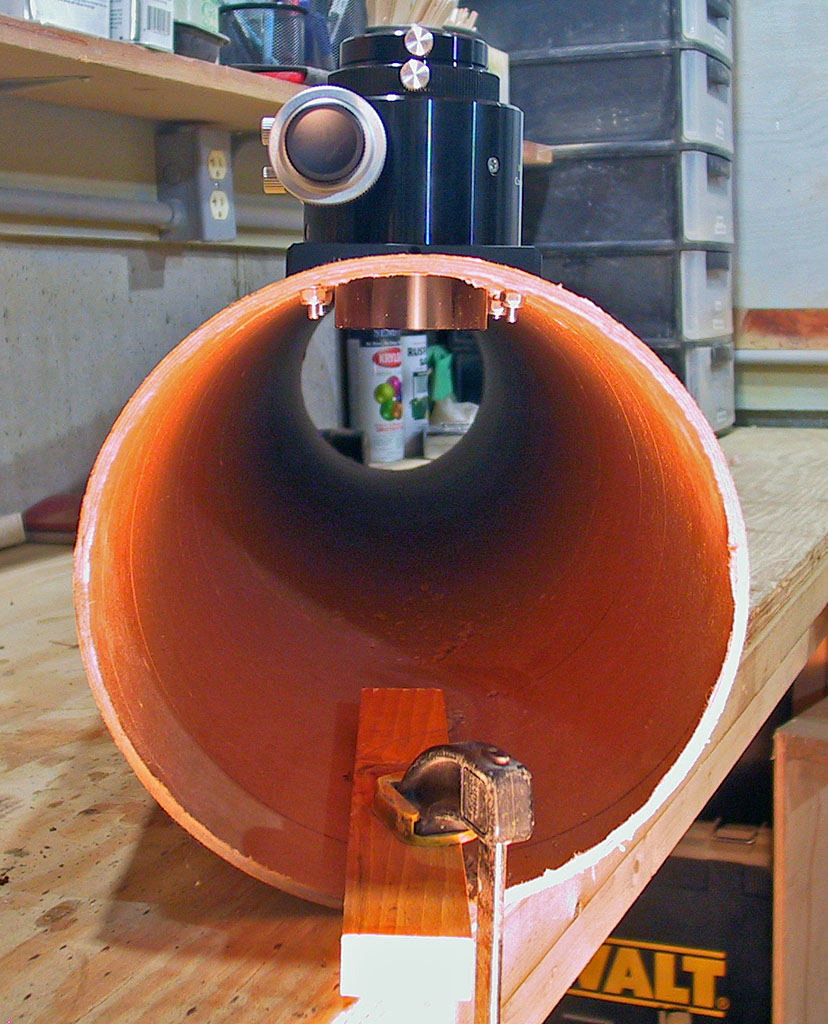
Now all that remains to be done is to bolt the focuser to the tube. Use washers under the nuts on the inside of the tube. We decided to use locking nuts - these nuts have plastic inserts that grip the bolt and will not allow the nut to loosen. These were chosen so based on experience - using a split ring or star lock washer requires the bolt to be tightened quite a bit, which might distort or damage the tube. With the locking nut, we can gently but firmly tighten, holding the focuser rigidly in place, without any damage to our tube.
Our next area of work will be the Diagonal and its mounting.
Previous: Build a 'Plumbing Parts' Focuser Next:
The Diagonal Mirror
Back to the Build a Dobsonian Master Index